In this blog post, we’re going to explore different Docker Compose setups for you to run a MongoDB replica set locally. Replica sets are a must-have for anyone wanting to leverage MongoDB’s powerful features like transactions, change streams, or accessing the oplog. Locally running a MongoDB replica set not only grants you access to these functionalities but also serves as a disposable sandbox to experiment with replication mechanics and fault tolerance in general. Let’s not wait any longer, and let’s get started!
Single-node replica set setup
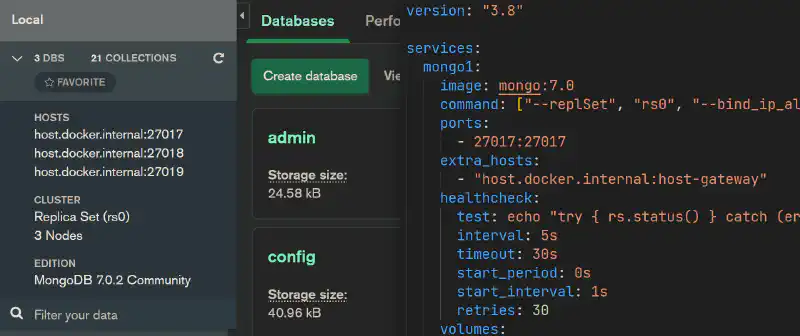
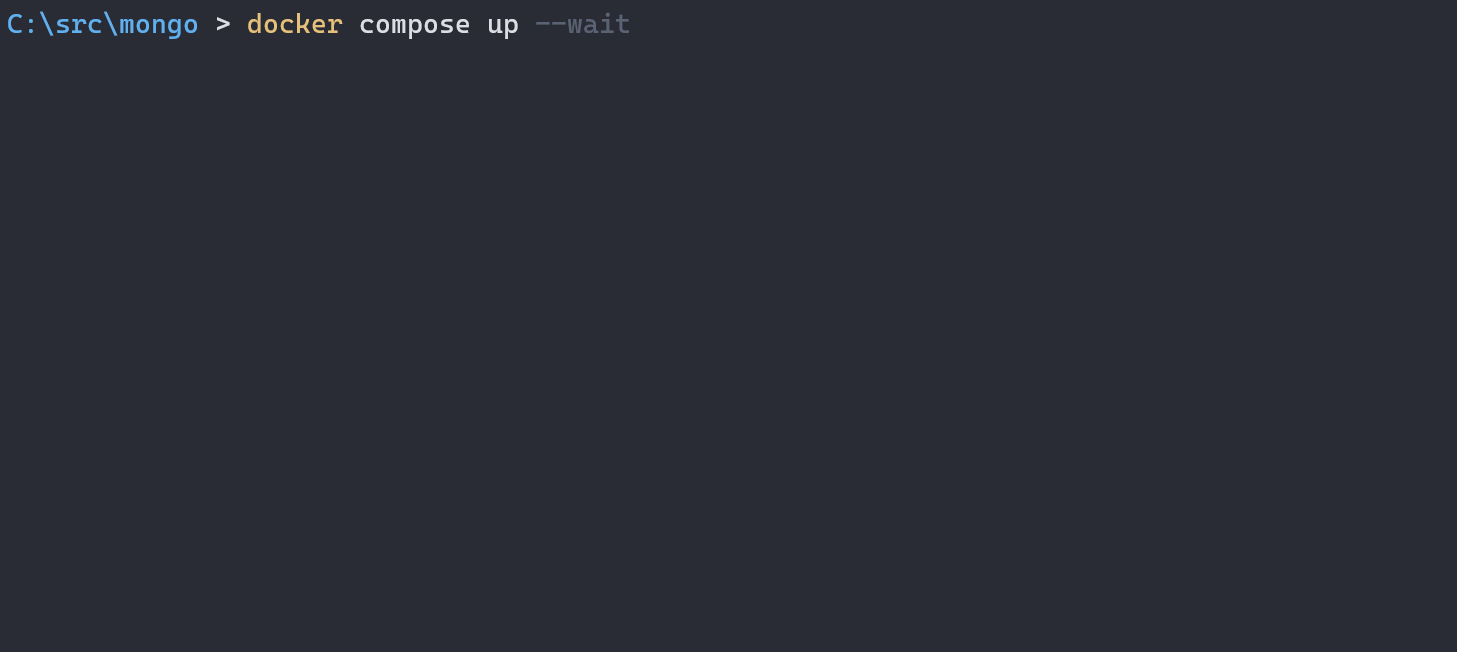
The first setup is a ready-to-use Docker Compose file that you can use to spin up a MongoDB single-node replica set in seconds. In cloud environments, you surely want to have multiple nodes to ensure high availability and fault tolerance. But for local development, a single-node replica set is more than enough, and gives you access to transactions and change streams. This helps you reduce the amount of CPU and memory resources needed to run your MongoDB instance locally, making Google Chrome happier. Here is the docker-compose.yml file to spin up a single-node replica set named rs0:
version: "3.8"

services:
  mongo1:
    image: mongo:7.0
    command: ["--replSet", "rs0", "--bind_ip_all", "--port", "27017"]
    ports:
      - 27017:27017
    extra_hosts:
      - "host.docker.internal:host-gateway"
    healthcheck:
      test: echo "try { rs.status() } catch (err) { rs.initiate({_id:'rs0',members:[{_id:0,host:'host.docker.internal:27017'}]}) }" | mongosh --port 27017 --quiet
      interval: 5s
      timeout: 30s
      start_period: 0s
      start_interval: 1s
      retries: 30
    volumes:
      - "mongo1_data:/data/db"
      - "mongo1_config:/data/configdb"

volumes:
  mongo1_data:
  mongo1_config:
Let’s take some time to understand what’s going on here. First, we’re using the mongo:7.0 image, which is the latest MongoDB Community Edition image as of this writing. We’re also using the --replSet flag to specify the name of the replica set, rs0. The --bind_ip_all flag is used to bind the MongoDB instance to all IPv4 addresses, and the --port flag is used to specify the port on which the MongoDB instance will be listening. 27017 is the default port for MongoDB. We’re also mapping the container port 27017 to the host port 27017 so that we can connect to the MongoDB instance from our host machine. The extra_hosts section is used to map the host.docker.internal hostname to the host machine’s IP address.
The healthcheck functionality has been repurposed to initialize the replica set in our setup. Replica sets need to be initialized using the rs.initiate() mongosh command (it’s the equivalent of the replSetInitiate database command). This operation can fail while the MongoDB instance is starting up, so we’re using the healthcheck functionality to retry the operation until it succeeds. Docker’s healthcheck allow us to be a little bit more aggressive during the startup phase. This is why start_interval is set to only one second. Unfortunately, start_interval is not yet supported in Docker Compose, although it’s part of its specification. This GitHub issue tracks the progress on this feature. In the meantime, we can set the regular interval to 5 seconds, which is a middle ground between being too aggressive and waiting too long. However, when start_interval will be implemented, we could raise the value of interval up to several minutes.
rs.status() is used here because it throws an exception if the replica set is not initialized, so it’s convenient to use it to call rs.initiate() until the replica set is initialized. Afterwards, periodically calling rs.status() is not an expensive operation. Also note that the healthcheck is still working here as intended because we expect the bash command to return a successful exit code, which only happens when we initialize the replica set for the first time, or when the replica set is already initialized.
Finally, we also persist the data in a Docker volume named mongo1_data. This is a best practice to ensure that the data is not lost when the container is stopped. Another volume, mongo1_config is used to persist the replica set configuration.

The connection string to access this single-node MongoDB replica set is:
mongodb://127.0.0.1:27017/?replicaSet=rs0
Three-node replica set setup
We said it earlier, a single-node replica set is good enough for local development. But if you want to experiment with fault tolerance and high availability, you need to have multiple nodes. For production use, the MongoDB documentation recommends having at least three nodes. The first container will be the primary node, and the two other containers will be secondary nodes. Here’s the docker-compose.yml file to spin up a three-node replica set named rs0:
version: "3.8"

services:
  mongo1:
    image: mongo:7.0
    command: ["--replSet", "rs0", "--bind_ip_all", "--port", "27017"]
    ports:
      - 27017:27017
    extra_hosts:
      - "host.docker.internal:host-gateway"
    healthcheck:
      test: echo "try { rs.status() } catch (err) { rs.initiate({_id:'rs0',members:[{_id:0,host:'host.docker.internal:27017',priority:1},{_id:1,host:'host.docker.internal:27018',priority:0.5},{_id:2,host:'host.docker.internal:27019',priority:0.5}]}) }" | mongosh --port 27017 --quiet
      interval: 5s
      timeout: 30s
      start_period: 0s
      start_interval: 1s
      retries: 30
    volumes:
      - "mongo1_data:/data/db"
      - "mongo1_config:/data/configdb"

  mongo2:
    image: mongo:7.0
    command: ["--replSet", "rs0", "--bind_ip_all", "--port", "27018"]
    ports:
      - 27018:27018
    extra_hosts:
      - "host.docker.internal:host-gateway"
    volumes:
      - "mongo2_data:/data/db"
      - "mongo2_config:/data/configdb"

  mongo3:
    image: mongo:7.0
    command: ["--replSet", "rs0", "--bind_ip_all", "--port", "27019"]
    ports:
      - 27019:27019
    extra_hosts:
      - "host.docker.internal:host-gateway"
    volumes:
      - "mongo3_data:/data/db"
      - "mongo3_config:/data/configdb"

volumes:
  mongo1_data:
  mongo2_data:
  mongo3_data:
  mongo1_config:
  mongo2_config:
  mongo3_config:
In this configuration, you can try to stop the primary node and see how the secondary nodes elect a new primary node. In this setup, the mongo1 container is given a little bit more priority than the other two containers. This is to ensure that the mongo1 container is elected as the primary node when the replica set is fully functional.
You can also try to stop any of the secondary nodes and see how the replica set continues to work. You can also try to stop all nodes and see how the replica set stops working. This is a great way to experiment with fault tolerance and high availability. Use the rs.status() mongosh command to query the replica set status and see which node is the primary node.
The three-node replica set connection string is:
mongodb://127.0.0.1:27017,127.0.0.1:27018,127.0.0.1:27019/?replicaSet=rs0
Troubleshooting connection issues
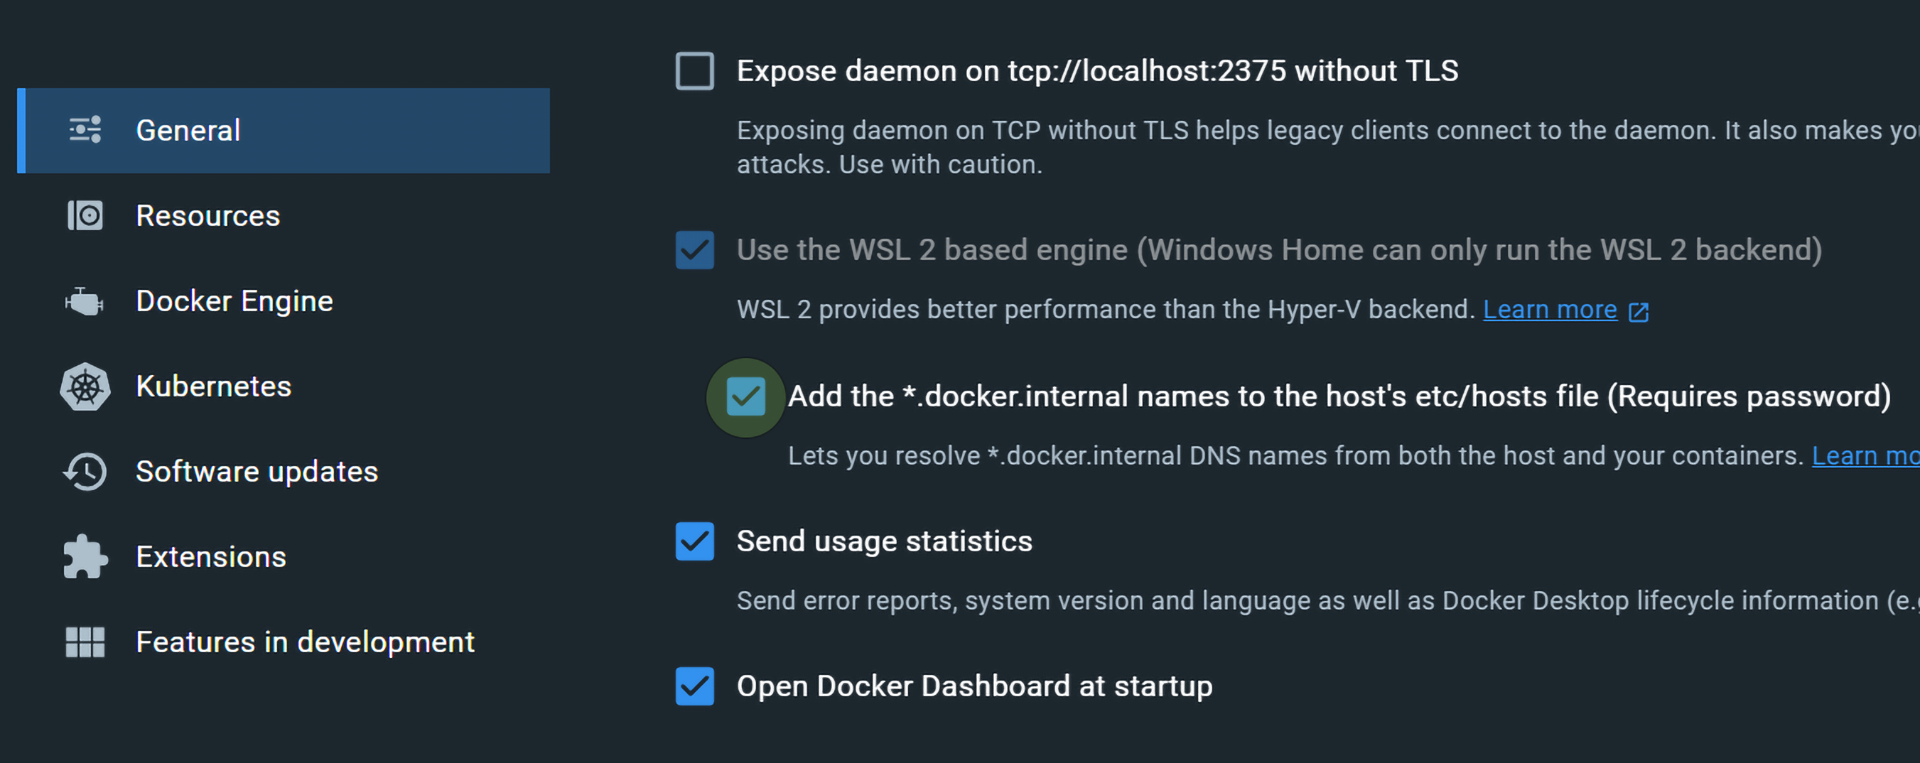
If you have trouble connecting to the MongoDB replica set, make sure Docker is up and running. Make also sure that the host.docker.internal hostname can be resolved to the host machine’s IP address.
On Windows, there is a setting to automatically add the *.docker.internal hostnames in the hosts file.
If host.docker.internal cannot be resolved on Linux, you must add a line in your /etc/hosts file to map host.docker.internal to the IP address 127.17.0.1.
Additional note about the healthcheck
The advantage of using the healthcheck to initialize the replica set here is that the docker-compose.yml file is self-contained. If you prefer to initialize the replica set manually, you can remove the healthcheck section and initialize the replica set using the rs.initiate() mongosh command.
docker compose exec mongo1 mongosh --port 27017 --quiet --eval "rs.initiate({...})" --json relaxed
However, you and every developer that will use the docker-compose.yml file will have to remember to do this at least once.