
This post was originally published in 2016 and may contain outdated information.
ServerPilot is a cloud hosting control panel designed to be simple, efficient and available as a service. It installs everything you need to run your PHP websites and web applications in a few minutes, with a production-ready configuration on your VPS or dedicated server. In my current company, we started using ServerPilot to host every PHP websites or web applications of our clients.
My co-workers and I encountered some issues with our development environments. Some of us were using the default LAMP stack provided by apt-get, while others used a compiled version of it. In both cases, it wasn’t that optimized and we often had to deal with configuration, permissions or e-mail delivery errors.
Now, we all use the same environment on our production, staging and development environments, thanks to ServerPilot.
What ServerPilot installs
Everything you need to run a secure and reliable server. From their documentation:
- PHP 5.4, 5.5, 5.6 and 7.0 with MySQL 5.5
- Apache 2.4
- Nginx as a reverse proxy with Google PageSpeed module
- Composer (one for each PHP version)
- Postfix so your apps can send mail
- Firewall configuration (ports 22, 80, 443 and 68 are exposed)
- Automatic packages updates
- Automatic SSL certificates with Let’s Encrypt (not a free feature)
- Statistics and monitoring at server or application level (not a free feature either)
Installing the development environment
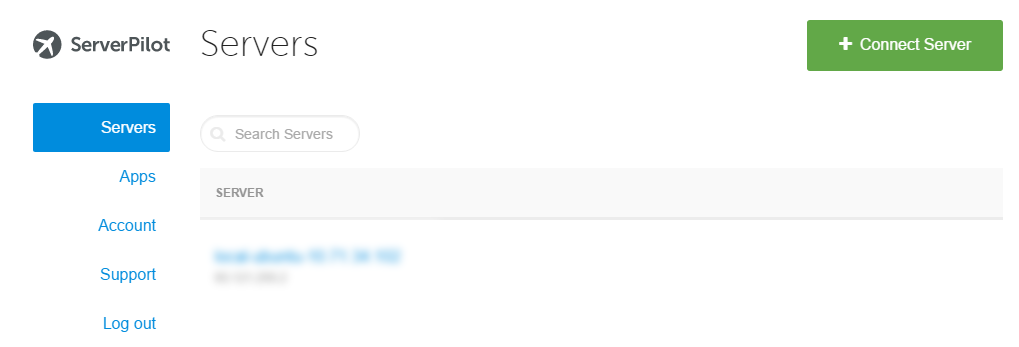
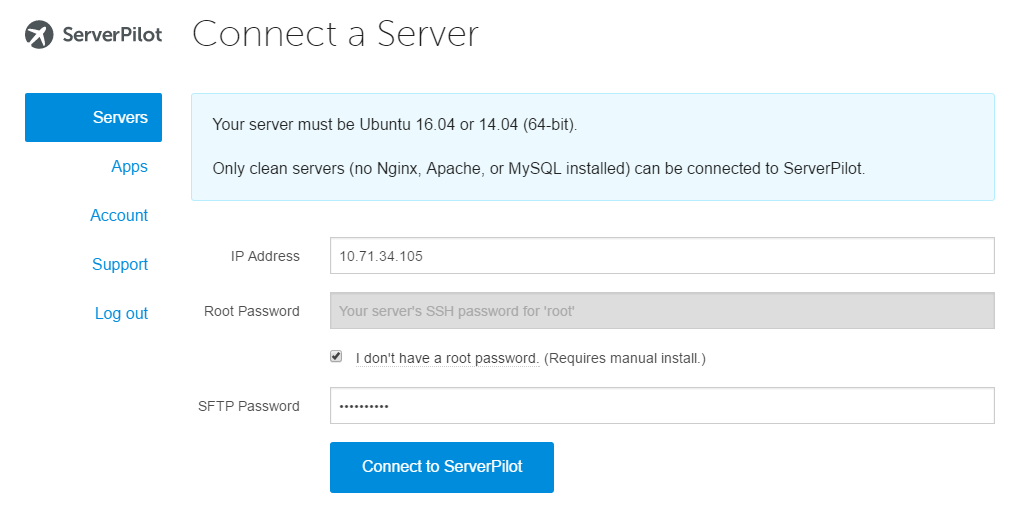
I’m using a fresh Ubuntu 16.04 installation on VirtualBox with a host-only network and OpenSSH. Log in to your ServerPilot account, and click on “Connect Server”.
Enter the IP address of the server (in my case, the private IPv4 of the host-only network, it doesn’t need to be accessible from the internet). Check the “I don’t have a root password” checkbox so ServerPilot won’t try to connect through SSH. Then, you need to enter a password for the new system user that will be created.
After that, you will be given a script to install the agent and all the components, just copy-paste it in your terminal:
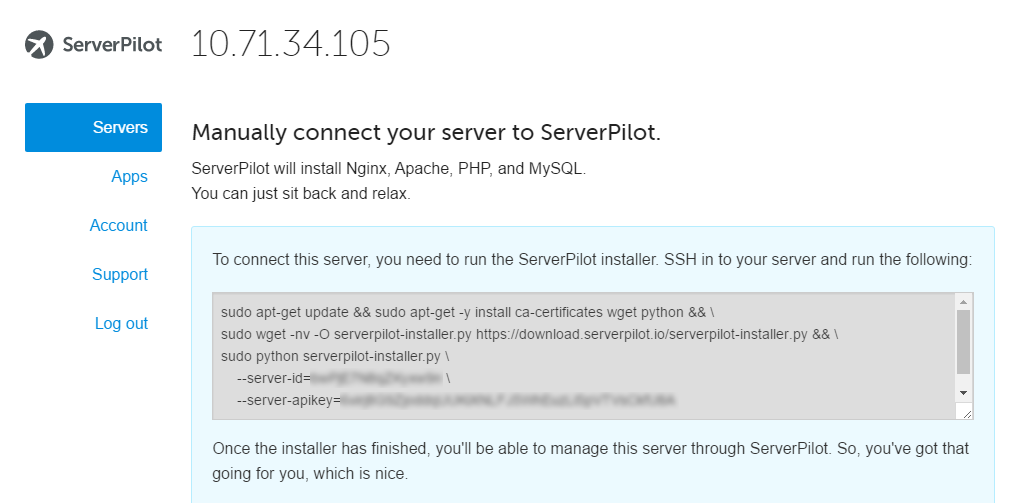
It might take some extra minutes depending on your internet connection. I have experienced installation durations from five to 20 minutes. You can see the progression on the ServerPilot control panel.
Conclusion
That’s all! Log in with the new system user “serverpilot” and the password that you typed in the previous installation step. It is strongly recommended to use this user to update any app or you might encounter permission errors.
If you are not familiar with ServerPilot, they have dozens of excellent articles to help you understand how it works, or how to customize the environment. In my case, I have just installed Xdebug to enable step-by-step debugging in PhpStorm.